Room Reveal

Master Bedroom Reveal

I struggled a lot with bedrooms when I was house hunting. Most ranch style homes in the area have 3 bedrooms crammed on the main floor. This creates a very tight floor plan with pretty small rooms. This house gave me exactly what I wanted with a room in the basement that could be a guest room and two bedrooms on the main floor. I have a smaller bedroom that I have dedicated as my office and a very large master bedroom.

Master-Bedroom-Makeover_1

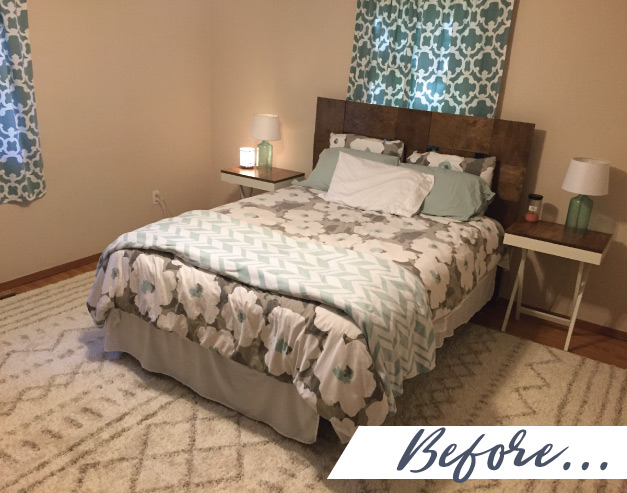
I have neglected my master bedroom since moving in to my house. I wasn’t quite sure of what to do with it and I had so much to do in other rooms that it simply took a back burner. I didn’t hate what I had for bedding and bedroom furniture but it didn’t really work either. Having had much smaller bedrooms in the past, my small DIY night stands and my tiny 3 drawer dresser from college didn’t even begin to fill the space. My old curtains barely even covered the new windows but I figured it would be fine for now. The only new addition I made was a new huge rug that I purchased before moving in knowing that my previous dog, Rocko would have a hard time getting in and out of bed with the laminate floors. The rug is so big that it was almost wall to wall in the huge room.

Master-Bedroom-Makeover_2

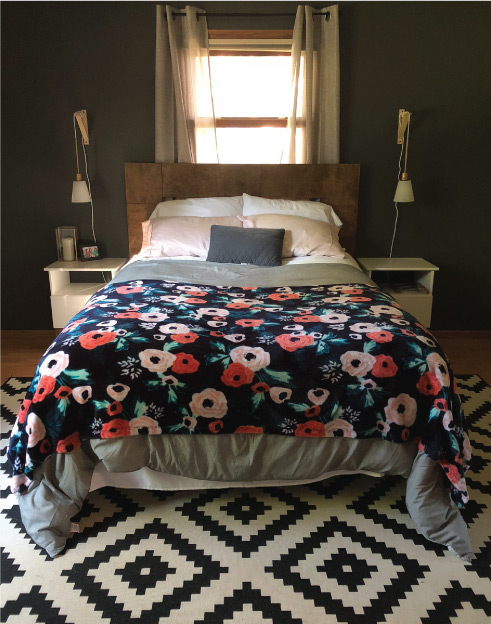
That rug is ironically what prompted my unplanned bedroom update. A few weeks ago, I decided to switch it with the smaller black and white rug in the living room that I had gotten years earlier. I swapped them because the bedroom rug was too big for the space and I really just wanted the prettier rug in the living room. Much to my surprise, I loved the black and white rug in the bedroom. It was kind of crazy how a smaller rug made the room feel so much bigger! A week later, I painted the wall behind the bed charcoal black. I have always wanted a charcoal accent wall in my bedroom but have been a little scared of painting a wall basically black. I’m so happy I finally caved because it is my favorite thing in the room by far.

Master-Bedroom-Makeover_9

Over the last year, I had bought some new bedding, night stands and a dresser that worked amazing with the new wall color. Keep an eye out for a post about the IKEA hack I did on my dresser and night stands. I love the way they turned out.

Master-Bedroom-Makeover_4

Master-Bedroom-Makeover_3

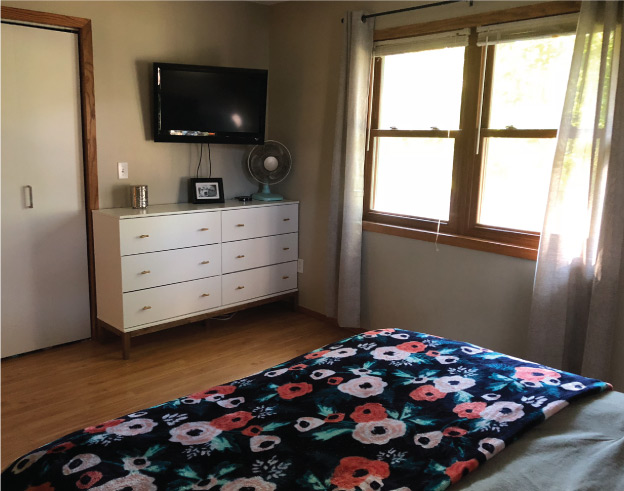
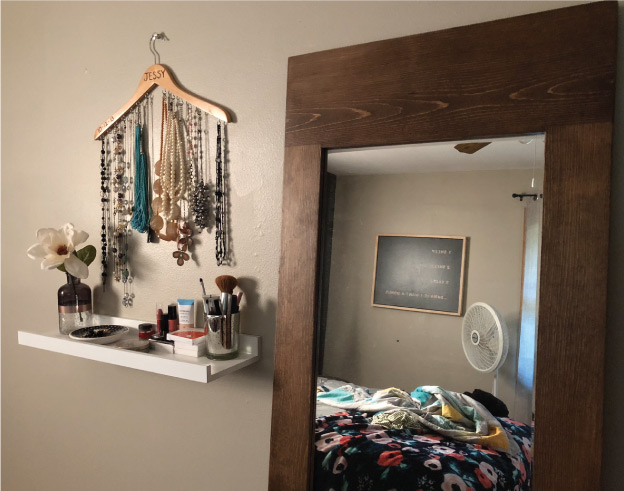
I recently did a new art pieces that tied in my love for donuts and picked up a simple wall shelf for make up to put next to my mirror. I found a steal of a deal on sleek, modern curtains at home goods and I was pretty much done except for updating the lighting.

Master-Bedroom-Makeover_6

Master-Bedroom-Reveal


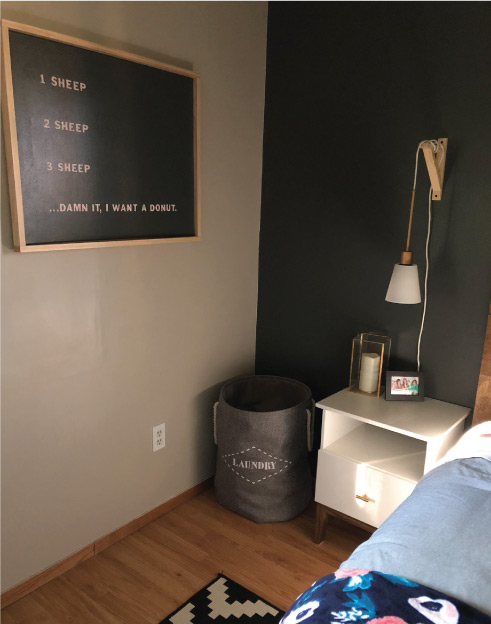
I really wanted to do the bracket pendent lighting that is so hot right now. I picked up brackets from Wal-Mart and used a few Januari lights from IKEA that was left over from a college art show. I wanted them to match the brass hardware I have on the night stands so I spray painted them a gold/brass color. I’m not really loving the final look because of the harsh, thick white cord but I love the light concept. Plus, these lights don’t have an on/off switch so I’m currently just unscrewing the light bulb to shut the light off. Haha! I’m working on a fix for it that will not only give me the look I want but will also be functional. I also have a new ceiling fan that needs to be hung in there so I’ll have to give a update once the lighting is changed out.

Master-Bedroom-Makeover_7


I had no real plans on decorating my master bedroom anytime soon but I’m so happy I did. For the first time in my life, I have a bedroom that is beautiful and peaceful. It fits my personality perfectly and brings such a sense of calming over me. It’s a perfect place to let go of the stresses of the day and relax surrounded by pretty things. Everyone deserves a happy place like that!

Master-Bedroom-Makeover_8

PS. It’s pretty much Piper’s happy place too. 😉

Master-Bedroom-Makeover_10

Tutorial

Simple DIY Canvas Wood Frames

Wood-Frame-5

Wall art and canvases can be so expensive so I like to make my own. I save a little money and get exactly what I want so it’s really a win-win! I usually do quotes or sayings on simple stretched canvases that you can pick up from your local craft store for a few bucks. Adding one of these simple wood frames around any canvas art will really help step up your wall art game!

Things You’ll Need

  • 1.5” x .75” Pine board
  • Saw
  • Drill
  • Sandpaper
  • Wood Glue
  • 1.5” Finishing Nails
  • Wood Stain or Paint (Optional)

Creating the frame is so easy! I used pine board because pine is very inexpensive and I love the grain it has but you could do this with any type of wood you’d like. You need to start with by cutting down you board into 4 pieces. Two will be the height of the canvas and the other two will be 1.5 inches longer then the width. For instances, the canvas I was framing was 24” by 30” so I cut my pieces 24” and 31.5”. This is so the horizontal pieces are long enough to cover the ends of the vertical boards. I cut these at home with a saw but many home improvement stores will make simple cuts like this for you for a small charge. Just remember to bring your measurements with you!

Wood-Frame-1

A big step that I would stress not to skip is pre-drilling your nail holes. The board is so small that putting a nail straight in may split the wood especially if you use a larger nail. I did not drill on the first frame I did and it doesn’t look great. I managed to get a few nails in just fine but I split the wood on a couple. Learn from my mistakes… pre-drill your ends. Haha! I just did two small nails on each corner to help hold it together and I only drilled the ends on the horizontal boards since that was the wood that I had the splitting problem on before.

Wood-Frame-2

Next step is to assemble the frame. Apply a small amount of wood glue to the end of the vertical board. Line up your horizontal pre-drilled board on the end and gently nail in your small finishing nails. You will want to make sure the nails you have chosen are long enough to go into the both pieces of wood. If you only get 1” nails, there will only be 1/4” in the second piece of wood and that won’t offer you much stability. Repeat on all 4 corners until the frame is complete. At this point, I like to tape the joints to help keep them tight until the glue dies. I just used some painters tape I had but I’m sure masking tape would work well too.

Wood-Frame-3

Allow the frame to sit the recommended drying time on wood glue bottle, then remove the tape and finish with your desired look. I love the light wood so I left mine completely natural. You can really customize the look with a little stain or paint to match the art and your home’s decor. After you frame is all finished, you can place the frame on the canvas. The fit will probably be tight and need some persuasion to fit. This is not a bad thing. If it’s tight on the canvas, I’ve found you don’t need to attach the canvas to the frame because it will just stay put. Not only is this easier and looks nice then having to nail the canvas to the frame, but it makes it easy to change out canvases if you want to switch up your art! If you’re anything like me, things are always changing!

IMG_0907

So easy, right?! I’d love to see how your frames turn out if you give this project a go! Feel free to upload a picture of your own wooden frames to my Facebook page. Happy building!

Wood-Frame-Pintrest