
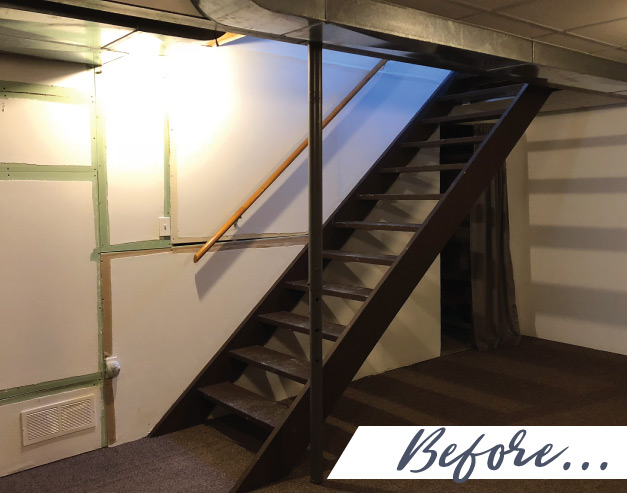
If you follow my Instagram, you know I’m in the process of updating my basement. I want to create a cozy and welcoming living room space for friends and I to hang out. The one major eye sores beyond the wood paneling and drop ceiling was the basement stairs. These were open wood stairs that I’m sure were pretty standard in ranch style homes in the ’80s. You can tell that they were installed strictly for function and there was no attempt at making them look nice. Being original to the home and over 30 year old, they had 10+ coats of paint and in there current state were dark chocolate brown. They were obviously ugly and frankly kind of scary with no outer railing when it came to small children (or adults after a few glasses of wine). I knew I wanted to make them safer and of course prettier!
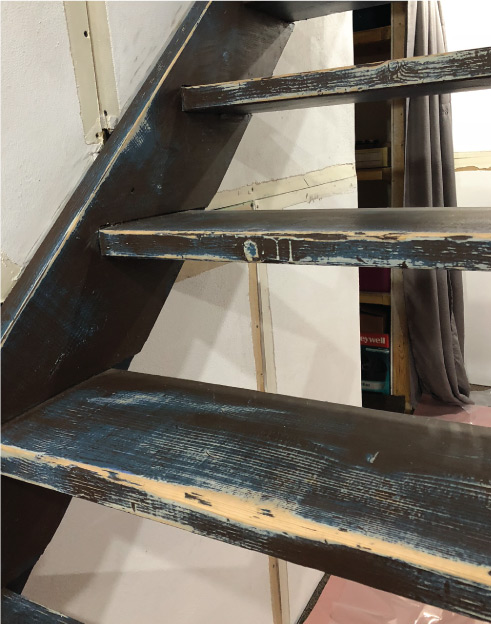
My original plan was to paint the steps charcoal and the sides white thinking there was no way that I would ever get to the original wood to be able to stain. I was shocked when I took a palm sander to it and easily was able to get to down to the wood on the edges. At that point, my heart was set on staining the steps and I was going to make it happen. I’ve done a fair share of stripping and refinishing wood on furniture project in the past so I felt confident I could hand this. As always, I had no idea what I was getting myself into.
After prepping the space, I eagerly applied a thick coat of CITRISTRIP, a paint and varnish stripping gel that is safe for indoor use. This was crucial since basements tend to be poorly ventilated areas. Apply the stripper to the steps and leave for up to 24 hours for the gel to work it’s magic. The longer you leave it, the better it will work. When your ready to remove the stripper, use a stripping tool and work with the grain of the wood. It will hopefully come off in chunks of gooey mess. I don’t know how else to describe it. Haha! There will be a slight residue after you remove the stripper and this can be cleaned up with Mineral Spirits and an old rag.
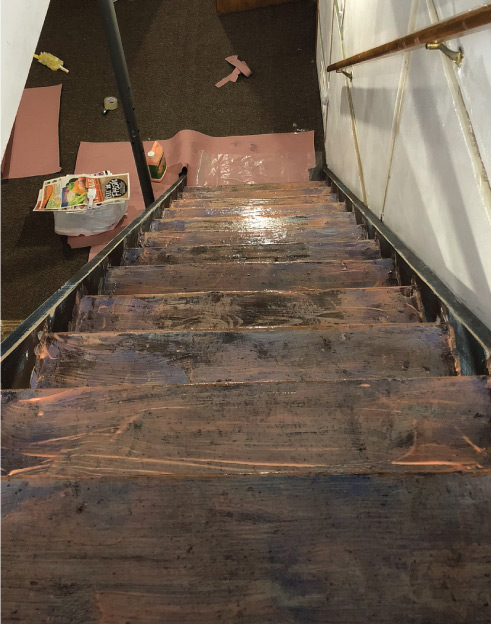
Since I didn’t want to be stranded in the basement for hours, I had to awkwardly start at the bottom and work my way up. I would stand on a step, then applying the stripper on the stair below. It sucked and was so uncomfortable. DON’T DO WHAT I DID! Break the steps into odds and evens. Do all of the odd steps first, leaving you every other step to stand on. This way you can still work bottom to top but you can actually face the step your working on. Once you’re completely done with the odd steps, go back and do the whole process again on the evens. It might take a little longer but it gives you better control and puts you in way less of awkward positions. Trust me, you’re back will be thanking you!

I ended up doing 3 rounds of stripper and I still had a pretty solid layer of a light blue/gray paint. At this point I spent 8 hours hand scrapping with a razor blade and was able to get most of the paint off. It was terrible but I was so close at this point that I couldn’t give up!

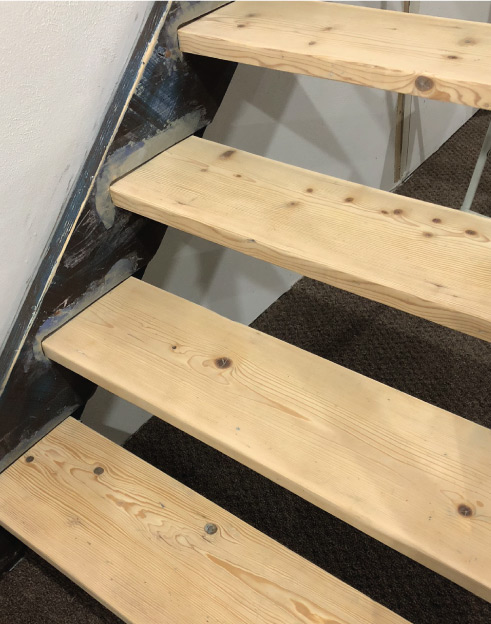
That was followed with LOTS of sanding. Starting with a very course sand paper and working finer, I sanded until I removed as much of the paint as I could. Sadly, there were still some small areas that I couldn’t get the paint but you don’t notice them too much when it was all said and done.
Next I ran painters tape along the edges of the steps and wrapped them with resin paper to protect them while I worked prepping and painting the sides. The sides were in really rough shape. They had lots of dents and groves that I smoothed out with wood filler.
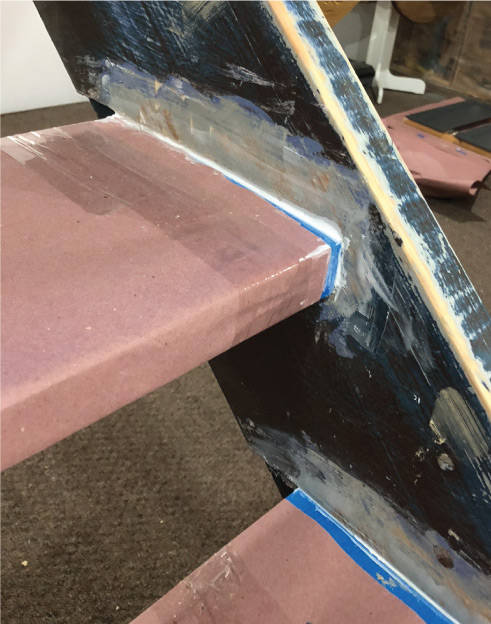
They also had huge gaps along where the stairs met the sides. This area I ended up filling with printable window, door and trim caulk. Some of the gaps were so big that I had to do multiple passes to fill them. The process was easier then I expected and I’m really happy with how it turned out.

Finally I was ready for paint and stain. I did all of my painting first since the steps were all wrapped up. I used a paint made for floors and porches to hold up to the foot traffic it will receive. It took 4 coats of white paint since I was going over the dark brown but if covered pretty well. I stained the stairs a dark walnut color which helped hide some of the paint I couldn’t get off the steps. I finished with 3 coats of Minwax One Coat Polyurethane in a satin finish over the stain, then stepped back to admire my beautiful work!
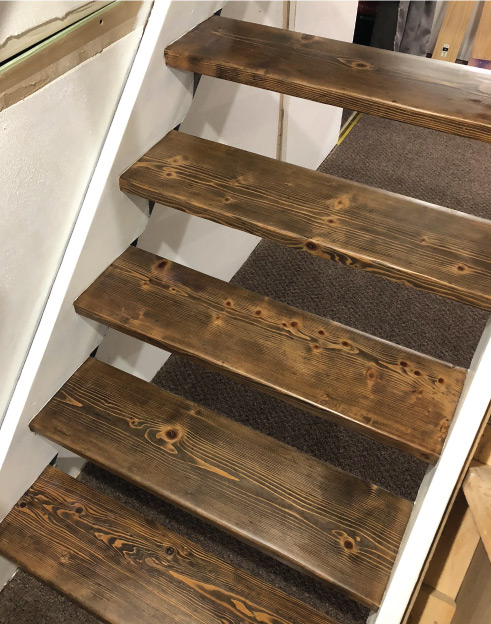
All in all, I probably spend 40 hours on this part of the stairs project and I would do it again in a heartbeat. None of it was particularly fun but I’m ecstatic with how well they turned out. It literately took a major eye sore in the basement and made it a focal point.

You can see that there is a partial wall going up along the outer side of the steps and that is part two of the steps project. We’re also adding risers in and updating the hand rail. I will continue to share all of the progress as we finish up these beauties!


These stairs are beautiful! Great job Jessy!
LikeLiked by 1 person